需求 :
想通过前端控制mqqt协议,但是必须通过后台去控制mqtt目前是后台是php框架用的laravel7
这里用到了 Workerman 官方文档
我这里会创建两个类 一个是发消息的 一个是接收消息的
发消息的 TestMqtt.php
收消息的 Subscribe.php
1.首先安装 Workerman
composer require workerman/workerman
2.安装mqtt
composer require workerman/mqtt
3.通过 artisan 创建两个自定义的命令类
在项目的更目录运行以下命令 此类是通过http控制mqtt的
 php artisan make:command TestMqtt   //发消息的类
php artisan make:command Subscribe  //收消息的类
运行后就会在 app\Console\Commands 文件夹下生成一个自定义的类 TestMqtt.php 和 Subscribe.php

效果图
随后在 app\Console\Kernel.php 文件中 $commands 数组里 添加一行刚刚生成的自定义类文件路径
    \App\Console\Commands\TestMqtt::class,
    \App\Console\Commands\Subscribe::class

效果图
4.首先我们编辑收消息的类 Subscribe.php
 namespace  App\Console\Commands;

use Illuminate\Console\Command;
use Workerman\Worker;
use Workerman\Mqtt\Client;

class Subscribe  extends  Command
{
    /**
     * The name and signature of the console command.
     *
     * @var string
     */
    protected $signature = 'start:s';

    /**
     * The console command description.
     *
     * @var string
     */
    protected $description = 'start subscribe';

    /**
     * Create a new command instance.
     *
     * @return  void
     */
    public function __construct()
    {
        parent::__construct();
    }

    /**
     * Execute the console command.
     *
     * @return int
     */
    public function handle()
    {
        $worker = new Worker();
        $worker->onWorkerStart = function () {
            $mqtt = new Client('mqtt:// 127.0.0.1 :1883');
            $mqtt->onConnect = function ($mqtt) {
                $mqtt->subscribe('/result/out/hdl');//主题
            };
            $mqtt->onMessage = function ($topic, $content) {
                $this->info('收到消息' . $content);
                $this->info("sub: $topic, $content");
            };
            $mqtt->connect();
        };
        Worker::runAll();
    }
}
5.编辑发消息的类 TestMqtt.php
 onWorkerStart = function ($worker) use ($http_port) {
            $ws_worker = new Worker('#39; . $http_port);
            $ws_worker->onMessage = function ($connection,  $ request ) {
                $id = $request->post('id') ?? 0;
                $topic = '/result/out/hdl';//监听的主题
                $port = '1883';//mqtt端口
                $mqtt_ip = '127.0.0.1';//mqttip
                //具体options参数可以到官网去查看
                $options = [
                    'username' => 'chunge',
                    'password' => '1234',
                    // 'debug' => true,
                ];
                $clicke = "mqtt://$mqtt_ip:$port";
                $mqtt = new Client($clicke, $options);
                $json_encode = json_encode(array('id' => $id));
                $mqtt->onConnect = function ($res) use ($json_encode, $topic, $mqtt, $connection) {
                    $this->info('http向mqqtt发送消息:' . $json_encode);
                    $res->publish($topic, $json_encode);
                    $mqtt->disconnect();
                    $message =  tcp Success();
                    $connection->send($message);
                };
                $mqtt->connect();
                $mqtt->onError = function (\ Exception  $e) use ($mqtt, $connection) {
                    $this->error('请先启动mqtt服务:' . $e->getMessage());
                    $mqtt->disconnect();
                    $message = tcpError('请先启动mqtt服务:' . $e->getMessage());
                    $connection->send($message);
                };
                $mqtt->onClose = function () {
                    $this->error('断开连接');
                };
            };
            $worker->ws_worker = $ws_worker;
            $ws_worker->listen();
        };
        /**
         * http发送成功反馈
         */
        function tcpSuccess($message = 'ok')
        {
            $res = array(
                'status' => 0,
                'message' => $message,
                'data' => [],
                'attache' => []

            );
            return json_encode($res);
        }
        /**
         * http发送失败反馈
         */
        function tcpError($message = '账户或密码错误')
        {
            $res = array(
                'status' => 9001,
                'message' => $message,
                'data' => [],
                'attache' => []

            );
            return json_encode($res);
        }
        // 运行worker
        Worker::runAll();
    }
}
6.将两个类在项目的更目录打开cmd输入以下命令运行起来
 //先启动收消息的类
php artisan start:s
//最后启动发消息的类
php artisan mqtt start

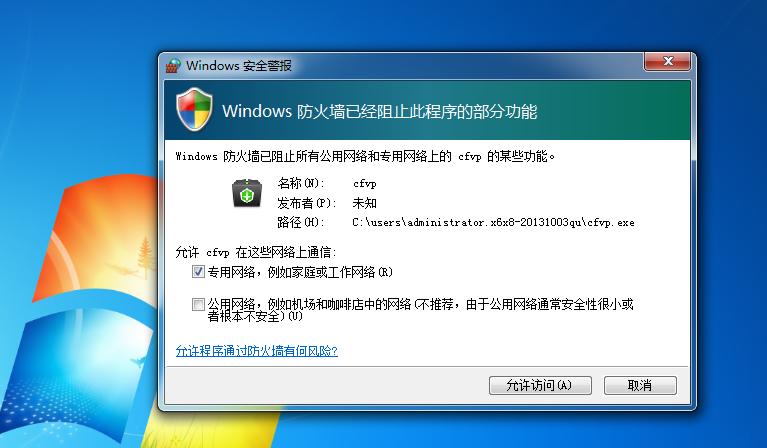
类启动后的效果图
7.那么接下来就是见证奇迹的时刻
通过postman 已post方式请求发送了id值为989

奇迹图
海报
197

