本篇内容介绍了“nginx服务器的下载安装与使用方法”的有关知识,在实际案例的操作过程中,不少人都会遇到这样的困境,接下来就让小编带领大家学习一下如何处理这些情况吧!希望大家仔细阅读,能够学有所成!
下载
http://nginx.org/en/download.html
解压
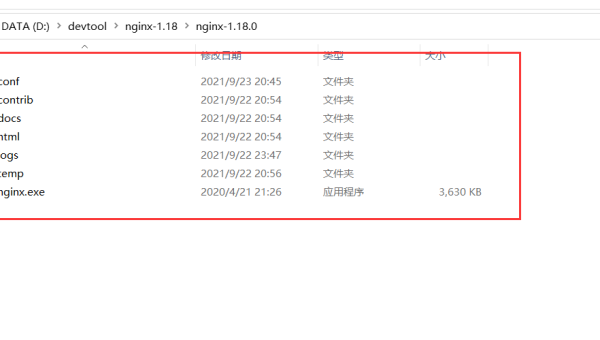
将下载后的 nginx-1.19.8.zip 压缩包解压缩到 D:/applications 目录下。
解压后的目录结构如下:
<img src="images\nginx-directory.png" />
配置
在 conf 目录中找到 nginx.conf 文件,先备份后再修改该文件。
修改之后的内容如下:
worker_processes1;

events{
worker_connections1024;
}


http{
includemime.types;
default_typeapplication/octet-stream;

sendfileon;

keepalive_timeout65;


server{
listen80;
server_namelocalhost;

location/{
rootD:/mycodes/movable-termination;
indexindex.htmlindex.htm;
}

error_page500502503504/50x.html;
location=/50x.html{
rootD:/mycodes/movable-termination;
}

}

}
注意
1.listen 之后的 80 表示 监听端口 ( 80 是 WWW 服务的默认端口 )
2.server_name 之后的 localhost 表示本地主机 ,将来在浏览器地址栏中可以通过 http://localhost 或 http://localhost:80 来访问
3 localtion / 选项下的 root 选项用于确定 WWW服务的 根目录 ,即当访问 http://localhost:80/index.html 时会在 root 对应的目录下寻找 index.html ,也就是 http://localhost:80/index.html 中 :80 之后的 / 所对应的目录 ,location = /50x.html 选项中的 root 表示服务端发生错误后的跳转页面所在的目录
启动
首先进入到 nginx 目录下:
cd nginx-1.19.8
在命令提示符中启动 nginx :
start nginx
启动之后可以在 任务管理器 中查看到两个 nginx 进程
修改配置后重新加载生效:
nginx -s reload
有序退出
nginx -s quit
快速关闭
nginx -s stop
可能会因为多次启动 nginx 导致启动了多个 nginx 进程,此时需要列出这些进程相关的信息:
tasklist /fi "imagename eq nginx.exe"
如果需要将这些进程全部杀死,可以使用以下命令:
taskkill /f /t /im nginx.exe
注意: tasklist 、taskkill 、start 都是 Windows 自带的命令,不是 nginx 提供的。
“nginx服务器的下载安装与使用方法”的内容就介绍到这里了,感谢大家的阅读。如果想了解更多行业相关的知识可以关注恰卡编程网网站,小编将为大家输出更多高质量的实用文章!