springboot整合redis实例分析
springboot整合redis实例分析
这篇文章主要介绍了springboot整合redis实例分析的相关知识,内容详细易懂,操作简单快捷,具有一定借鉴价值,相信大家阅读完这篇springboot整合redis实例分析文章都会有所收获,下面我们一起来看看吧。
导入redis pom文件
编写redis配置
spring:redis:password:port:6379host:localhostdatabase:0jedis:pool:##连接池最大连接数(使用负值表示没有限制)#spring.redis.pool.max-active=8max-active:8##连接池最大阻塞等待时间(使用负值表示没有限制)#spring.redis.pool.max-wait=-1max-wait:-1##连接池中的最大空闲连接#spring.redis.pool.max-idle=8max-idle:8##连接池中的最小空闲连接#spring.redis.pool.min-idle=0min-idle:0##连接超时时间(毫秒)lettuce:shutdown-timeout:0
编写springConfig文件
由于存储需要序列化,所以我们要配置redis的序列化方式,如果不配置的话key和value默认使用的都是StringRedisSerializer,只能用来存储String类型的数据,因此需要配置我们常用的类型。同时我们的Java实体类也要一定要继承Serializable接口
@ConfigurationpublicclassRedisConfig{@BeanpublicRedisTemplate
测试redis
在这一步前,我们要确定所连接的redis服务已经开启
@AutowiredprivateRedisTemplate
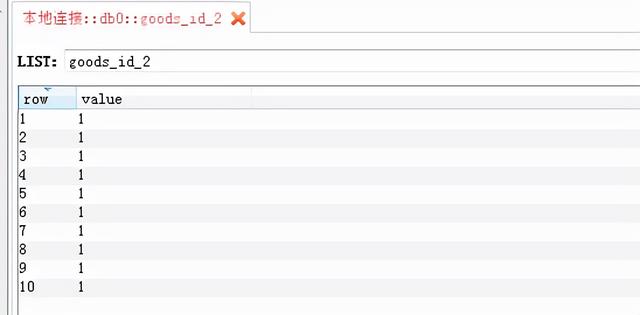
测试结果
关于“springboot整合redis实例分析”这篇文章的内容就介绍到这里,感谢各位的阅读!相信大家对“springboot整合redis实例分析”知识都有一定的了解,大家如果还想学习更多知识,欢迎关注恰卡编程网行业资讯频道。
推荐阅读
-
vue动态添加删除输入框(springboot vue怎么让数据库显示出来)
springbootvue怎么让数据库显示出来?一般情况下是前端调阅后端接口,来获取到数据库的数据,后端哪里会把数据库的数据整理...
-
php如何让Swoole/Pool进程池实现Redis持久连接
php如何让Swoole/Pool进程池实现Redis持久连接本篇...
-
php操作redis大全记录
php连接redis测试˂?php$redis=newRedis();$redis-˃conne...
-
PHP经典高级工程师面试题
1.PHP如何实现不用自带的cookie函数为客户端下发cookie。对于分布式系统,如何来保存session值...
-

PHP操作Redis数据库
-

php利用redis防止商品超发来限制抢购,简单又实用
-

php如何实现秒杀功能?php+redis模拟简单抢购场景,快来看看吧
-

PHP高级工程师面试题
-

Laravel结合Redis发送邮箱验证码
-

使用redis缓存实现多服务器PHP sessions共享
